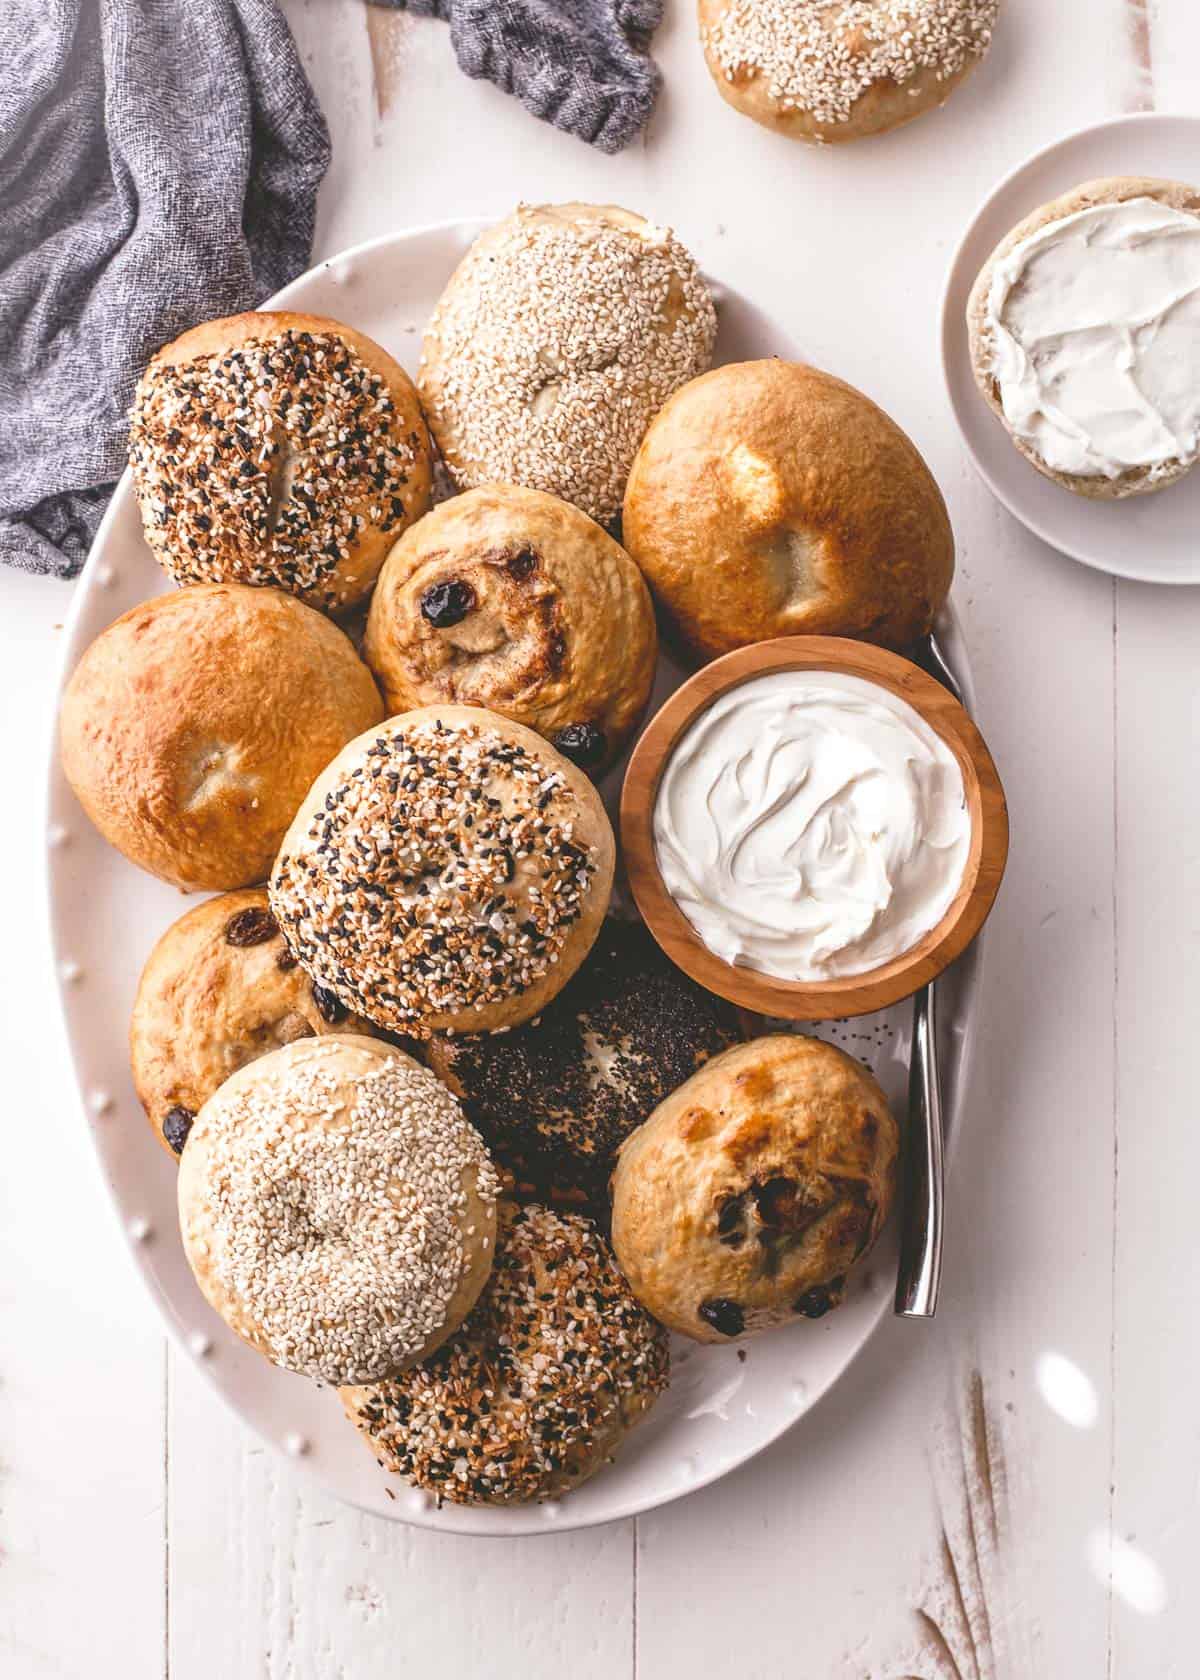
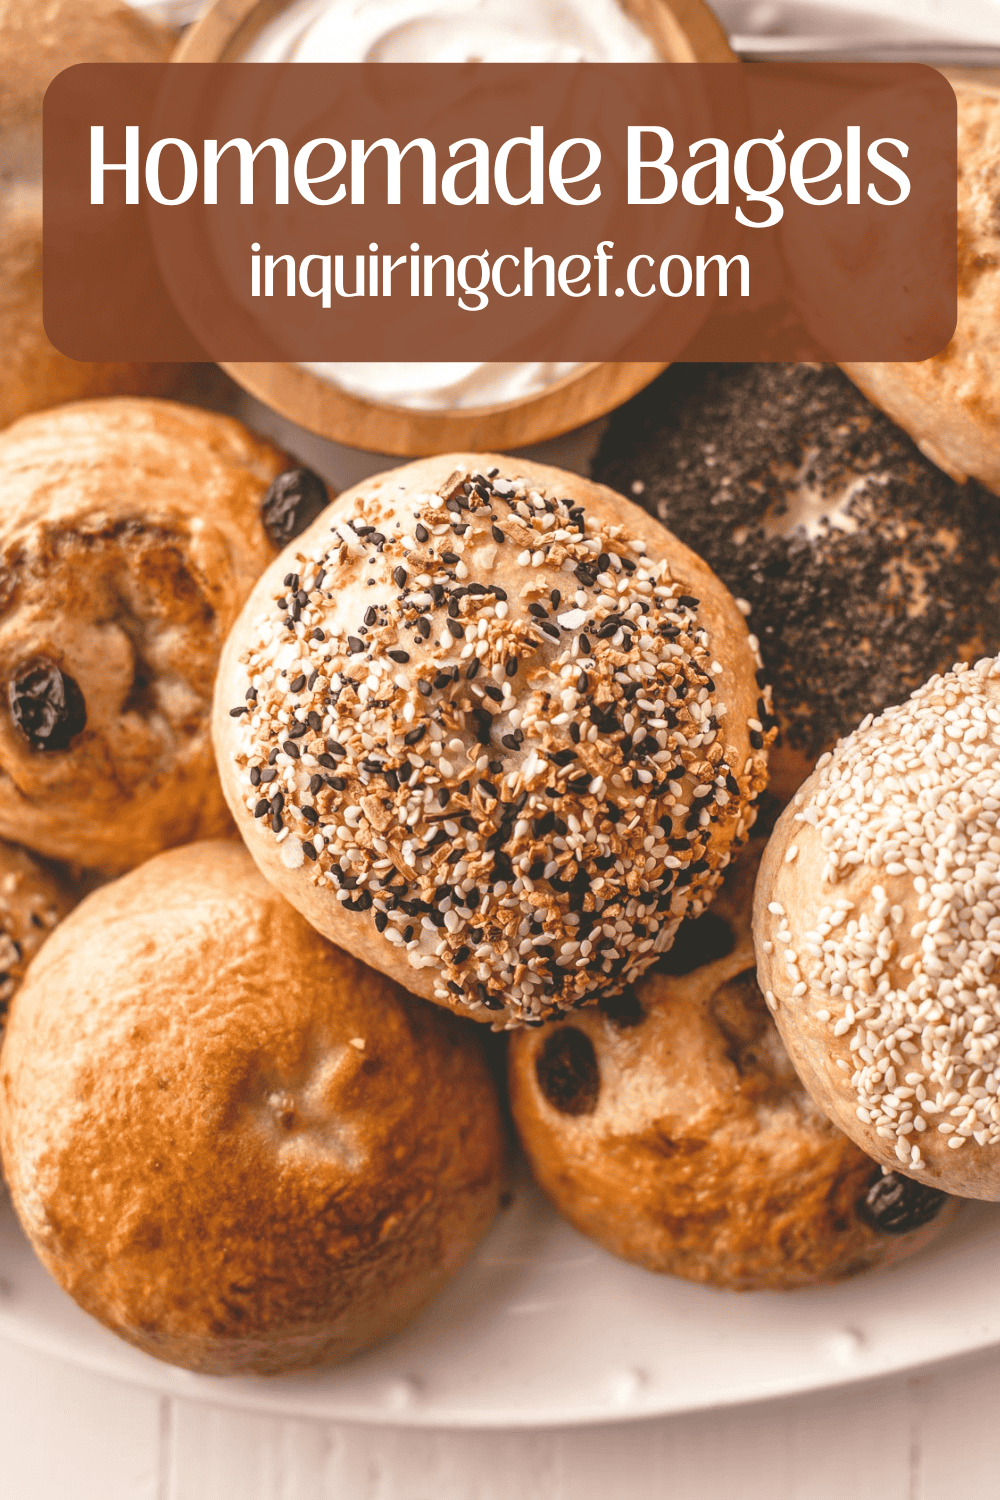
Homemade Bagels
Published Dec 17, 2020•Updated Jun 25, 2024
This post may contain affiliate links. Please read our disclosure policy.
Few kitchen-based tasks are as satisfying as making homemade bagels. It’s not nearly as complicated as you might think and the bagels are refrigerated overnight to be baked quickly in the morning. One bite of a warm, fresh, hot-out-of-the-oven bagel and you’ll have no doubt that it’s worth the effort.

When I started making my own homemade bagels back in 2011, it was purely out of necessity. Frank and I were living in Bangkok, Thailand and could eat any beloved, obscure, or delicious Thai dish we craved any day of the week. But there were a few things from home that we heartily missed. Bagels were at the top of the list.
How Boiling Bagels Affects Texture
The amount of time that you boil the bagels affects their chewiness. 1 minute of boiling on each side makes for bagels with a fairly standard amount of chew while 2 minutes of boiling on each side makes for extra chewy bagels.
Pin this now to save it for later
Pin It Now
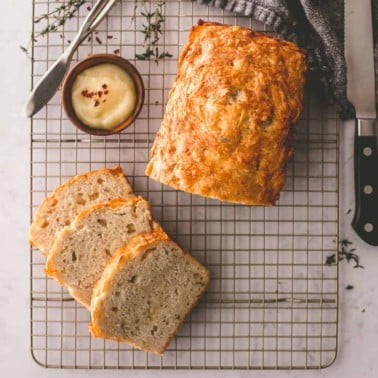
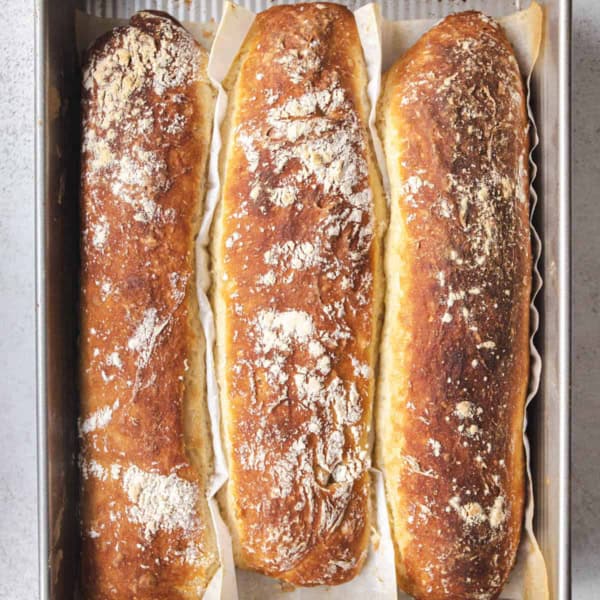
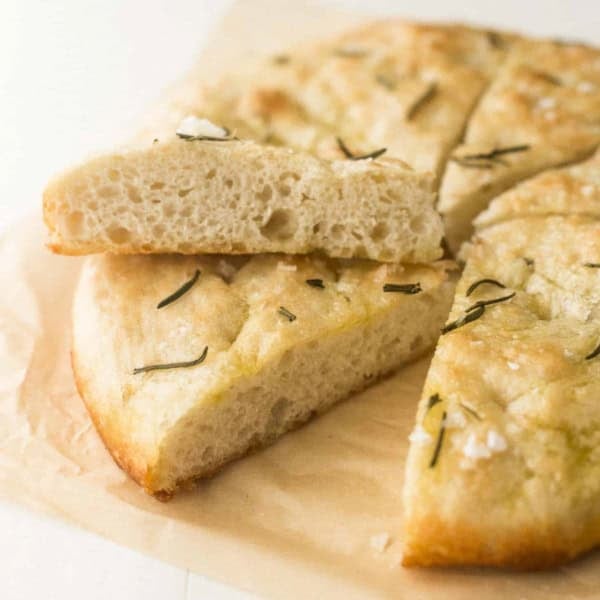
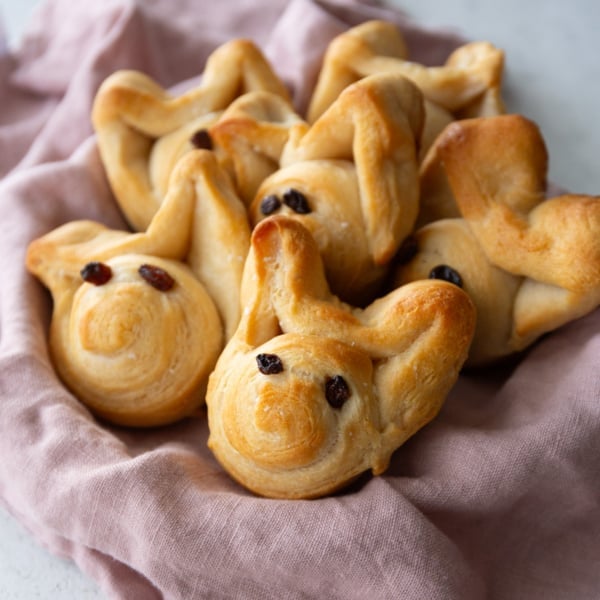
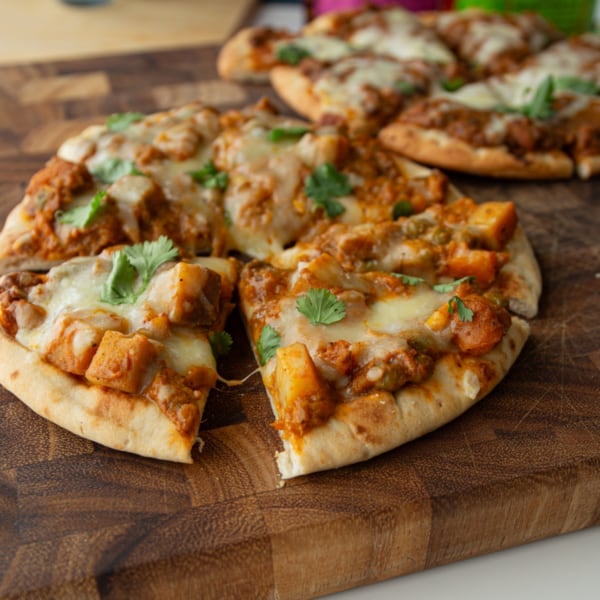
More Homemade Bread Recipes
Favorite Tools
Notes on the recipe below. What is shared here is the route I took in making these bagels. I used instructions and notes from Michael Ruhlman at “Homemade Bagels Are A Breeze!“, Deb at Smitten Kitchen in Peter Reinhart’s Bagels, and Saveur in Homemade Bagels. The final method comes largely from Peter Reinhart’s recipe, but takes tips and inspiration from the others.
Pin this now to save it for later
Pin It Now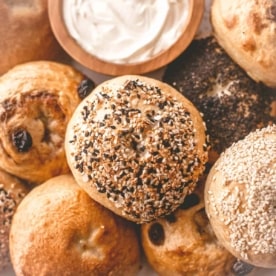
Homemade Bagels
Equipment
- Mixing Bowls
- Half Sheet Pans
- Parchment Paper
- Knife or Dough Cutter
- Stockpot
- Basting Brush
- Cooling Rack
Ingredients
Sponge:
- 1 teaspoon Instant / "Fast-Acting" Yeast
- 4 cups Bread Flour (500 grams)
- 2 1/2 cups Warm Water
Dough:
- 1/2 teaspoon Instant / "Fast-Acting" Yeast
- 3 cups Bread Flour, plus more as needed (375 grams)
- 1 Tablespoon Honey (or barley malt syrup)
- 2 3/4 teaspoons Kosher Salt
For Boiling:
- 1 Tablespoon Baking Soda
- 3 Tablespoons Honey (or barley malt syrup)
For Finishing / Topping:
- 1 Egg
- 1 Tablespoon Water
- Toppings of Choice (optional – sesame seeds, everything bagel seasoning, poppyseeds, cinnamon and raisins)
Instructions
- Make sponge: In a large bowl, stir together 1 teaspoon instant yeast, 4 cups bread flour, and 2 1/2 cups warm water until no dry spots remain. Cover with a dishtowel and let rise at room temperature until foamy and doubled in size, about 2 hours.
- Make dough: Stir sponge until it collapses. Stir in ingredients for dough – 1/2 tsp instant yeast, 3 cups bread flour, 1 Tablespoons honey, and salt. Once dough starts to come together, turn it out onto a lightly floured counter.
- Knead dough, adding more bread flour as needed, until it forms a smooth ball, about 10 minutes total.
- Form bagels: Roll the dough into an even ball and use a knife or dough cutter to divide it into 12 portions. Roll each portion into a ball, tucking the ends under so it is smooth on the surface. (See note below if making cinnamon-raisin bagels.)
- Cover the balls of dough with a slightly damp paper towel and allow them to rest on the counter for 20 minutes.
- Line two large sheet pans with parchment paper. Spray the parchment with nonstick cooking spray (don't forget this step or the bagels will stick).
- Working with one portion of dough at a time, hold the dough with two hands and gently press your thumbs through the center to create a hole. Work your hands once around the dough to expand the hole. Place bagels on prepared sheet pans.
- Rest bagels (15 minutes or overnight): Let bagels rest at room temperature for 15 minutes or refrigerate them, uncovered, overnight.
- Boil and bake: Bring a large pot of water to a boil. Preheat oven to 450°F / 232°C.
- When the water is boiling, stir in baking soda and 3 Tablespoons honey. Gently drop the bagels into the boiling water, working in batches so that the bagels float on the surface with some space between them. Boil the bagels for 1 minutes on each side (2 minutes total). (Note: The easiest way to flip them is to push gently on one end of the bagel to submerge it – the bagel should flip right over. If some but not all of the batch of bagels includes cinnamon raisin bagels, boil those last to avoid flavoring the water.)
- Return bagels to the prepared sheet pan.
- If you’d like to add toppings, whisk together egg and 1 Tablespoons water. Brush this egg wash over the top of the bagels and sprinkle on toppings.
- Bake the bagels until golden brown, 12 to 14 minutes, rotating the pans halfway through baking.
- Cool on a wire rack. Slice and serve!
Notes
Nutrition
Nutrition information is automatically calculated, so should only be used as an approximation.


Hello! Thank you so much for this thorough recipe. I followed the recipe very closely and my bagels turned fantastic! I was really intimidated at first by this recipe, but I felt that it FAIRLY east; as you said, not exactly a breeze but certainly doable. I added various toppings to mine including: caraway seeds, poppy seeds and sesame seeds. Delicious. Can’t wait to toast them up, too!
Bethany! Thanks so much for sending me a note to let me know how it went. It’s so rewarding to make these yourself, isn’t it? It’s certainly part of my regular baking routine now, and I am thrilled every time a batch comes out of the oven. Caraway seeds on top? What a great idea!
yum!! do you think they would keep for awhile if you froze them after baking?
Jenna – oh definitely – they keep great in the freezer! Usually I let them cool to room temp, slice them in half (leaving them attached on one small side so that the pieces stay together) and pop them in a bag for the freezer.
great! thanks so much for the detailed instructions! 🙂 i never freeze anything, because i’m never quite sure how
Yes, they should be eaten during breakfast in Italy too. https://calogeromirafoodand.wordpress.com
I wish I was as enterprising… i miss bagels too but havent made them here in mumbai… ur recipe is tempting me to bake some…
Hey, I like your blog! Thanks for sharing and hope you enjoy Bangkok! My hometown! 😉
I do absolutely love Bangkok! There’s so much to see and do that I’ll never get to all of it!
Amazing is right – WOW! I know I absoutely could not stop at just 1 — great job! 🙂
My stomach is growling! I need to make these asap.
For the cinnamon sugar bagels, how much cinnamon/sugar/raisins do you use?
Thanks for another delectable recipe!!
I used about 2 Tbsp. of a cinnamon sugar mixture (3 parts sugar to 1 part cinnamon) and would recommend another 2 Tbsp. of raisins. They didn’t come out as intense with cinnamon-sugar-raisin flavor as some that I’ve had from bagel shops, but still had all of that great flavor. Enjoy!
These look wonderful! Didn’t know that bagels got boiled before they got baked.
Jess you’re amazing!!! Those look fantastic!! Probably the best looking bagels in BKK!